Aufhängen einer Verandaschaukel mit Ketten - Schritt für Schritt
Es ist ganz einfach, Ihre Veranda in einen gemütlichen Rückzugsort zu verwandeln, wenn Sie wissen, wie man eine Veranda-Schaukel mit Ketten aufhängt. Mit den richtigen Werkzeugen und haltbaren Ketten können Sie ganz einfach einen entspannenden Ort schaffen, der sich perfekt für ruhige Momente oder Familientreffen eignet und gleichzeitig die Attraktivität Ihres Hauses steigert.
Wichtigste Erkenntnisse
- Besorgen Sie sich zuerst Werkzeuge wie einen Bolzenfinder, eine Bohrmaschine und eine Schutzbrille. Wenn Sie vorbereitet sind, wird die Arbeit einfacher und sicherer.
- Wählen Sie zur Sicherheit eine stabile Unterlage, z. B. einen starken Balken. Prüfen Sie immer, wie viel Gewicht die Balken tragen können.
- Pflegen Sie Ihre Schaukel, indem Sie sie häufig reinigen. Überprüfen Sie sie auf Schäden, damit sie lange Zeit sicher ist und Spaß macht.
Werkzeuge und Materialien zum Aufhängen einer Veranda-Schaukel mit Ketten
Bevor Sie mit dem Aufhängen Ihrer Veranda-Schaukel beginnen, sollten Sie die richtigen Werkzeuge und Materialien besorgen. Wenn Sie alles bereit haben, wird der Prozess reibungsloser verlaufen und Ihre Schaukel wird sicher montiert.
Unverzichtbare Werkzeuge für den Job
Für die ersten Schritte benötigen Sie einige grundlegende Werkzeuge. Die meisten dieser Werkzeuge sind haushaltsüblich, aber wenn Sie sie nicht haben, können Sie sie leicht in Ihrem örtlichen Baumarkt finden. Hier ist, was Sie brauchen:
- A Bolzen-Finder um die stärksten Punkte in Ihrer Decke oder Ihrem Balken zu finden.
- Schutzbrille um Ihre Augen beim Bohren zu schützen.
- A Stift oder Bleistift zur Markierung von Messungen.
- A bohren mit dem passenden Bohrer für Ihr Befestigungsmaterial.
- Schaukelaufhänger und deren Schrauben zur sicheren Befestigung der Schaukel.
- Rohrzange oder eine normale Zange zum Anziehen von Schrauben.
- A Leiter oder einen Trittschemel, um den Installationsbereich zu erreichen.
- Bandmaß um genaue Messungen zu gewährleisten.
- Eine verstellbarer Schraubenschlüssel zum Anziehen von Schrauben und Muttern.
- A Ebene um sicherzustellen, dass Ihr Schwung gleichmäßig hängt.
- Handschuhe für zusätzlichen Halt und Schutz.
Wenn Sie diese Werkzeuge zur Hand haben, ersparen Sie sich Zeit und Frustration während des Installationsprozesses.
Benötigte Materialien
Die von Ihnen gewählten Materialien sind ebenso wichtig wie die Werkzeuge. Die Verwendung hochwertiger Komponenten gewährleistet, dass Ihre Schaukel sicher ist und jahrelang hält. Das werden Sie brauchen:
- Ketten aus rostfreiem Stahl oder verzinktem Stahl für Haltbarkeit und Rostbeständigkeit.
- Schaukelhaken zur Befestigung der Ketten an der Decke oder am Balken.
- Ringschrauben oder Ringbolzen für eine sichere Befestigung.
Einige Veranda-Schaukeln werden mit einem Montagesatz für die Kette geliefert, aber wenn Ihre nicht dabei ist, können Sie einen solchen separat kaufen. Je nach Beschaffenheit Ihrer Veranda benötigen Sie möglicherweise zusätzliches Befestigungsmaterial. Es ist eine gute Idee, wenn Sie einen Schreiner oder Eisenwarenhändler konsultieren um sicherzustellen, dass Sie die richtigen Materialien für Ihre Einrichtung verwenden. Sie können Ihnen dabei helfen, Artikel wie schwenkbare Aufhängungen oder Verbindungsstücke zu finden, die Ihren speziellen Anforderungen entsprechen.
Mit diesen Werkzeugen und Materialien sind Sie gut gerüstet, um zu lernen, wie man eine Veranda-Schaukel mit Ketten sicher und effizient aufhängt.
Vorbereitungen zum Aufhängen einer Veranda-Schaukel mit Ketten
Die Wahl des besten Standorts
Der erste Schritt besteht darin, den perfekten Platz für Ihre Veranda-Schaukel auszuwählen. Sie wollen einen Platz, der sowohl praktisch als auch angenehm ist. Hier sind ein paar Dinge, die Sie beachten sollten:
- Denken Sie an die Aussicht. Möchten Sie Ihren Garten, die Straße oder vielleicht den Sonnenaufgang oder Sonnenuntergang sehen?
- Vergewissern Sie sich, dass genügend Spielraum vorhanden ist. Sie benötigen 36-48 Zoll Platz vor und hinter der Schaukelplus mindestens 24 Zoll auf jeder Seite.
- Prüfen Sie die Größe Ihrer Veranda. Die Schaukel sollte bequem passen, ohne den Raum zu beengen.
Wenn Sie sich die Zeit nehmen, den richtigen Standort zu wählen, wird Ihre Schaukel zu einer entspannenden und funktionalen Ergänzung Ihres Außenbereichs.
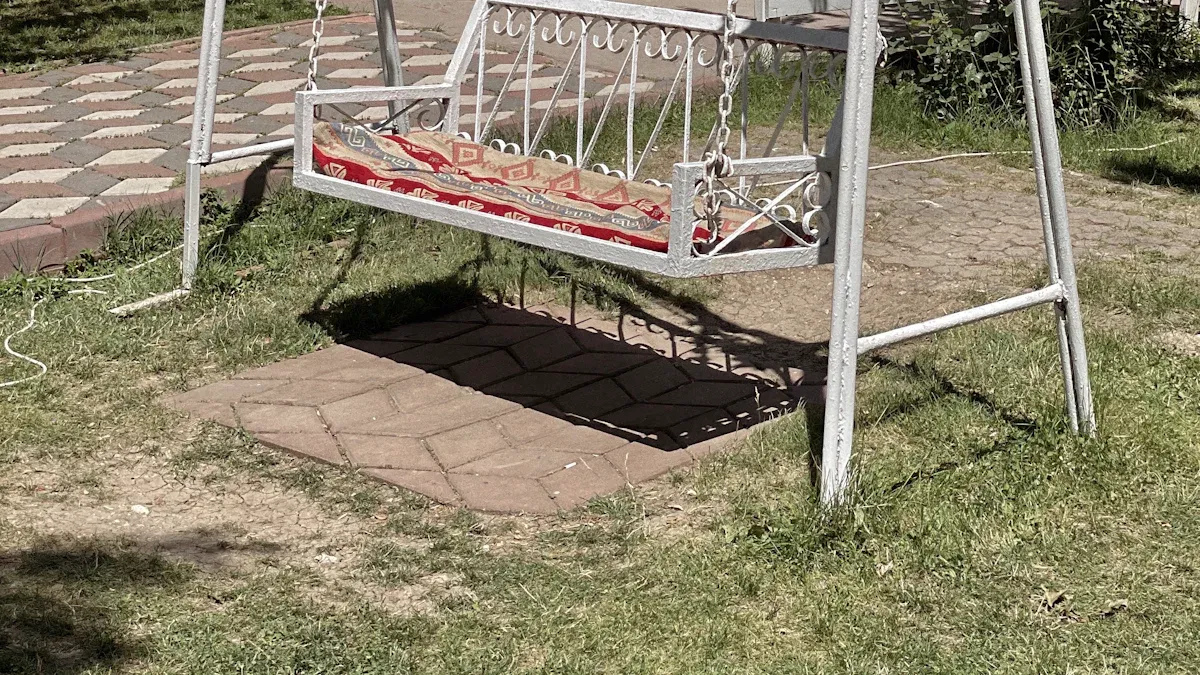
Sicherstellung der strukturellen Unterstützung
Bei der Installation einer Veranda-Schaukel steht die Sicherheit an erster Stelle. Sie brauchen eine stabile Struktur, die das Gewicht der Schaukel und ihrer Insassen tragen kann. Hier ist, worauf Sie achten sollten:
- Verwenden Sie einen tragenden Balken oder Deckenbalken. Er sollte stabil genug sein, um das Gewicht der Schaukel zu tragen.
- Achten Sie auf Balken, die an beiden Enden gut abgestützt sind. Idealerweise sollten sie dicker sein, wie 2×6 oder 2×8.
- Vermeiden Sie es, einen Baum als Stütze zu verwenden. Das mag zwar praktisch erscheinen, ist aber nicht sicher und könnte dem Baum schaden.
Wenn Sie sich über die Struktur Ihrer Veranda unsicher sind, können Sie sich von einem Fachmann beraten lassen, der Ihnen Sicherheit gibt.
Messen und Markieren für die Installation
Genaue Messungen sind der Schlüssel zu einer reibungslosen Installation. Befolgen Sie diese Schritte, um es richtig zu machen:
- Lokalisieren Sie die Deckenbalken, an denen Sie die Schaukel montieren wollen. Möglicherweise müssen Sie Deckenplatten entfernen, um sie zu finden.
- Vergewissern Sie sich, dass die Balken das Gewicht der Schaukel tragen können, bevor Sie weitermachen.
- Markieren Sie mit einer Markierung die genauen Stellen auf den Balken, an denen die Schaukel angebracht werden soll.
Durch diese Schritte wird sichergestellt, dass Ihre Schaukel sicher und gleichmäßig montiert ist, so dass Sie sie sicher und bequem benutzen können.
Schritt-für-Schritt-Anleitung zum Aufhängen einer Veranda-Schaukel mit Ketten
Anbringen der Befestigungselemente
Nachdem Sie Ihren Platz vorbereitet haben, können Sie nun das Befestigungsmaterial anbringen. Befolgen Sie diese Schritte, um loszulegen:
- Lokalisieren Sie die Balken: Benutzen Sie einen Bolzenfinder, um die Deckenbalken zu identifizieren, an denen die Schaukel hängen wird.
- Markieren Sie die Stellen: Messen und markieren Sie die Befestigungspunkte. Diese sollten mit der Breite der Schaukel übereinstimmen und eine gleichmäßige Gewichtsverteilung gewährleisten.
- Pilotlöcher bohren: Bohren Sie an den markierten Stellen kleine Löcher in die Balken. Dadurch wird verhindert, dass sich das Holz spaltet.
- Installieren Sie die Hardware: Schrauben Sie die Schaukelhaken oder Ösenschrauben fest ein. Ziehen Sie sie mit einem Schraubenschlüssel fest und stellen Sie sicher, dass sie fest sitzen.
Die ordnungsgemäße Installation der Befestigungselemente ist die Grundlage für eine sichere und stabile Schaukel. Nehmen Sie sich Zeit für diesen Schritt, um sicherzustellen, dass alles sicher ist.
Sichern der Ketten an der Schaukel
Sobald die Beschläge fertig sind, müssen Sie die Ketten an Ihrer Schaukel befestigen. So kannst du es machen:
- Befestigen Sie zunächst vier Ringschrauben an der Schaukel selbst. Diese dienen als Verankerungspunkte für die Ketten.
- Fädeln Sie die Ketten durch die vorgebohrten Löcher in der Schaukel. Verwenden Sie Schnellverschlüsse, um die Ketten zu befestigen.
- Ordnen Sie die Ketten in einer umgedrehten "Y"-Form an. Diese Anordnung sorgt für Stabilität und gewährleistet ein gleichmäßiges Hängen der Schaukel.
Nachdem Sie die Ketten befestigt haben, ziehen Sie leicht an ihnen, um sicherzustellen, dass sie fest sitzen. Dieser Schritt ist sowohl für die Sicherheit als auch für den Komfort entscheidend.
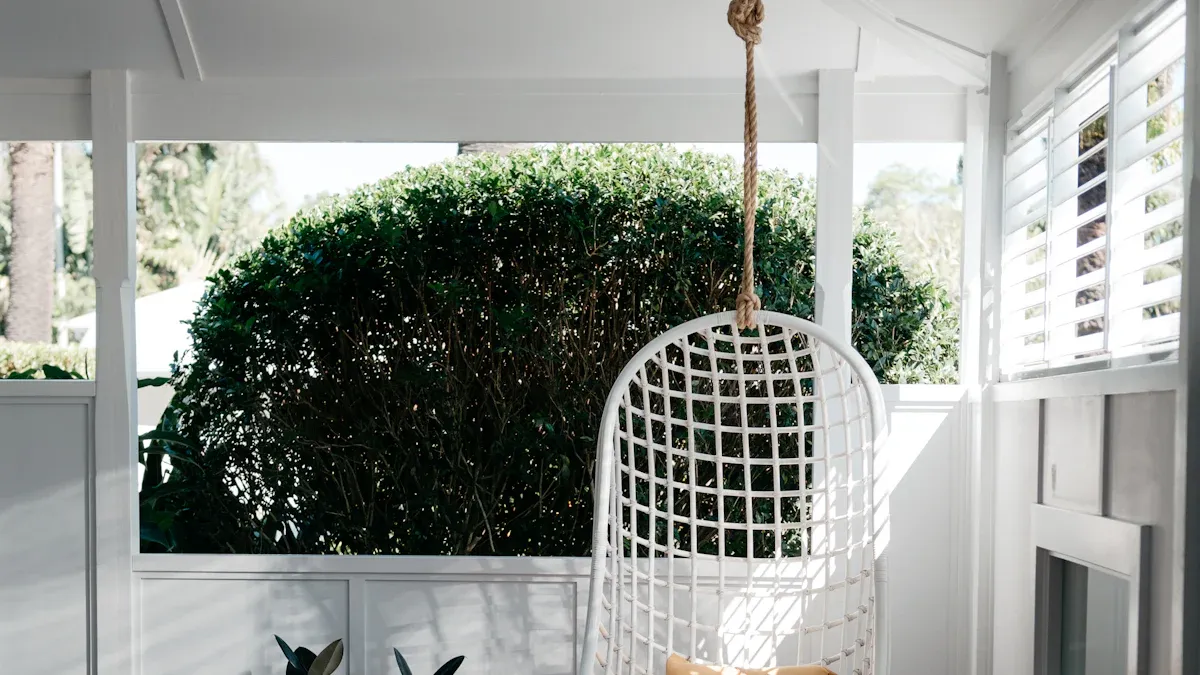
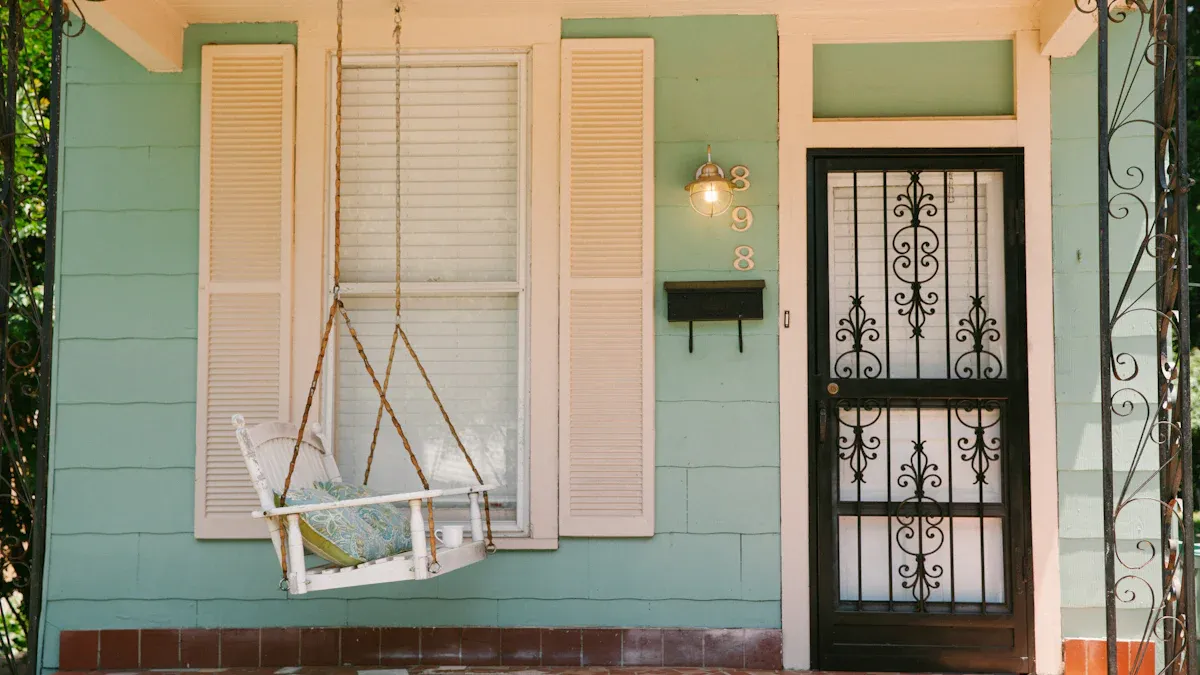
Ketten an der Decke oder am Balken befestigen
Zum Schluss befestigen Sie die Ketten an der Decke oder am Balken. Nutzen Sie diese Tipps, um es richtig zu machen:
- Befestigen Sie die längeren Kettenabschnitte an den Armlehnen der Schaukel und verbinden Sie sie mit den Deckenhaken.
- Verwenden Sie kürzere Ketten, um die Rückseite der Schaukel mit den längeren Ketten zu verbinden. Diese Anordnung hilft, die Schaukel auszubalancieren.
- Stellen Sie sicher, dass die Schaukel hängt 17-19 Zoll über dem Boden. Diese Höhe ist ideal für leichten Zugang und Komfort.
Überprüfen Sie die Ketten vor der Fertigstellung auf Anzeichen von Verschleiß oder Beschädigungen. Eine schnelle Inspektion gewährleistet, dass Ihre Schaukel sicher und einsatzbereit ist.
Letzte Anpassungen und Sicherheitstipps
Testen der Schaukel auf Stabilität
Bevor Sie sich zurücklehnen und entspannen, müssen Sie die Stabilität Ihrer Schaukel testen. Ziehen Sie zunächst vorsichtig an der Schaukel, um sicherzustellen, dass die Ketten und Beschläge sicher sind. Üben Sie dann etwas Gewicht aus, indem Sie den Sitz nach unten drücken. Wenn sich alles fest anfühlt, setzen Sie sich auf die Schaukel und schaukeln Sie sie leicht. Achten Sie auf Knarren oder ungewöhnliche Geräusche. Wenn Sie eine Bewegung in den Beschlägen feststellen oder Geräusche hören, ziehen Sie die Bolzen oder Schrauben nach. Testen Sie Ihre Schaukel, um sicherzustellen, dass sie sicher und einsatzbereit ist.
Einstellen der Schwenkhöhe
Die richtige Höhe macht das Schwingen bequemer. Idealerweise sollte der Sitz 17-19 Zoll über dem Boden hängen. In dieser Höhe können die meisten Menschen problemlos sitzen und stehen. Verwenden Sie ein Maßband, um den Abstand zwischen dem Boden und der Unterseite der Schaukel zu messen. Stellen Sie die Ketten ein, indem Sie die Schnellverschlüsse nach oben oder unten bewegen, bis Sie die gewünschte Höhe erreicht haben. Überprüfen Sie nach der Einstellung mit einer Wasserwaage, ob die Schaukel gerade steht. Eine richtig eingestellte Schaukel erhöht Ihren Komfort und Ihr Vergnügen.
Wartungstipps für Langlebigkeit
Um Ihren Schwung in guter Form zu halten, ist regelmäßige Pflege der Schlüssel:
- Reinigen Sie die Schaukel mit einer milden Seifenlauge und einem weichen Schwamm um Schmutz und Ablagerungen zu entfernen.
- Überprüfen Sie Sitz, Rahmen und Ketten auf Verschleiß. Ziehen Sie alle losen Teile fest.
- Tragen Sie eine schützende Versiegelung auf Holzschaukeln auf, um ihr natürliches Aussehen zu erhalten.
- Schmieren Sie die Ketten mit einem witterungsbeständigen Schmiermittel um Rost zu verhindern.
- Lagern Sie die Schaukel im Winter im Haus oder decken Sie sie mit einer wasserdichten Abdeckung ab.
Wenn Sie diese Tipps befolgen, wird Ihre Schaukel jahrelang sicher, funktionell und schön bleiben.
Das Aufhängen einer Veranda-Schaukel mit Ketten ist ein lohnendes Projekt, das Ihren Außenbereich verwandelt. Um Sicherheit und Komfort zu gewährleisten, sollten Sie diese wichtigen Punkte beachten:
- Verwenden Sie einen stabilen Balken oder Träger zur Unterstützung.
- Überprüfen Sie den Zustand und die Tragfähigkeit des Trägers.
- Kontrollieren und warten Sie die Schaukel regelmäßig.
| Wichtigste Überlegung | Beschreibung |
|---|---|
| Strukturelle Integrität | Befestigen Sie die Schaukel an einem stabilen Balken oder Träger. |
| Gewichtskapazität | Beachten Sie die Gewichtsgrenze der Schaukel und fügen Sie eine Sicherheitsmarge hinzu. |
| Saisonale Wartung | Überprüfen Sie die Beschläge, reinigen Sie die Schaukel und kontrollieren Sie regelmäßig auf Verschleiß. |
Wenn Sie diese Schritte befolgen, werden Sie jahrelang Freude an einer sicheren und gemütlichen Schaukel haben 😊.
FAQ
Wie viel Gewicht kann eine Veranda-Schaukel tragen?
Die meisten Veranda-Schaukeln sind für ein Gewicht von 250-600 Pfund ausgelegt. Überprüfen Sie die Richtlinien des Herstellers und stellen Sie sicher, dass Ihre Balken oder Balken das kombinierte Gewicht der Schaukel und der Benutzer tragen können.
Kann ich eine Veranda-Schaukel aufhängen, ohne in die Decke zu bohren?
Ja, Sie können ein freistehendes Schaukelgestell verwenden. Diese Gestelle sind stabil und machen eine Deckenmontage überflüssig, was sie zu einer guten Alternative macht.
Tipp: Überprüfen Sie vor der Benutzung immer die Tragfähigkeit des Rahmens.
Wie kann ich verhindern, dass meine Schaukel rostet?
Verwenden Sie Ketten aus rostfreiem Stahl oder verzinktem Stahl. Tragen Sie ein witterungsbeständiges Schmiermittel auf die Ketten und Beschläge auf. Decken Sie die Schaukel bei schlechtem Wetter ab oder lagern Sie sie, um sie zu schützen.


